Simple Meals with Canned Fish: Easy, Healthy & Budget-Friendly Ideas
June 17, 2026Recipes
Simple Meals with
Canned Fish
Canned fish is a quick, easy, and affordable way to add healthy protein to your meals. Options like tuna, salmon, and sardines are packed with nutrients that help your family grow strong and stay healthy.
If you’re short on time or cooking for a busy household, canned fish can be a great go-to.
Why Choose Canned Fish?
Canned fish has many health benefits:
High in protein to help build strong muscles
Rich in omega-3 fats for brain and heart health
Good source of vitamins and minerals, like vitamin D and calcium
Budget-friendly and shelf-stable, so it lasts a long time
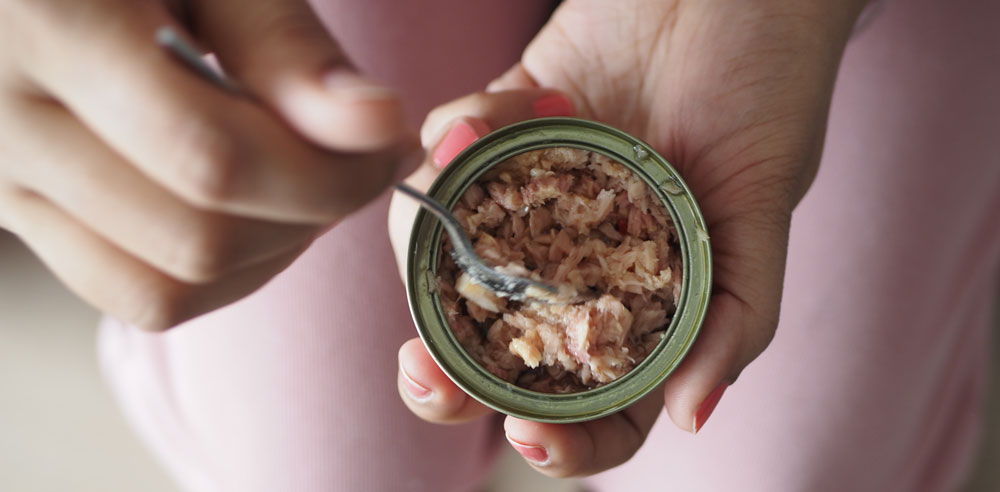
Some canned fish, like salmon and sardines, even have soft, edible bones that provide extra calcium. Don’t worry, the soft bones are safe to eat (they’re pressure-cooked and very tender).
Did you Know?
Tips for Choosing
Canned Fish
Choose fish packed in water or oil, depending on your preference.
Look for low-sodium options when possible.
For tuna, light tuna is often lower in mercury than albacore.
Check labels to see if bones are included for extra calcium.
How to Safely Serve Canned Fish
Mash Well
Break up the fish and bones thoroughly so there are no chunks.
Check for larger bones or skin (especially in canned salmon) and remove if needed.
Start Small
If your child is new to fish, offer a small amount at first to watch for any reactions.
For younger babies (around 6+ months), mix with soft foods like mashed vegetables
What About Mercury?
Salmon and sardines are low in mercury and considered good choices for young children.
Tuna can contain more mercury, so it’s best to choose light tuna and serve it in smaller amounts and less often.
Food Safety Tips
Wash your hands before and after handling food.
Once opened, store canned fish leftovers in a covered container in the refrigerator and use within 1–2 days.
Easy Ways to Use Canned Fish
Canned fish is already cooked, so it’s ready to eat right away. Here are some simple ways to use it:
MAKE A SANDWICH
Mix canned tuna or salmon with a little mayo or yogurt. Toss in some chopped celery for a little crunch, if desired. Spread on whole grain bread with lettuce or tomato.
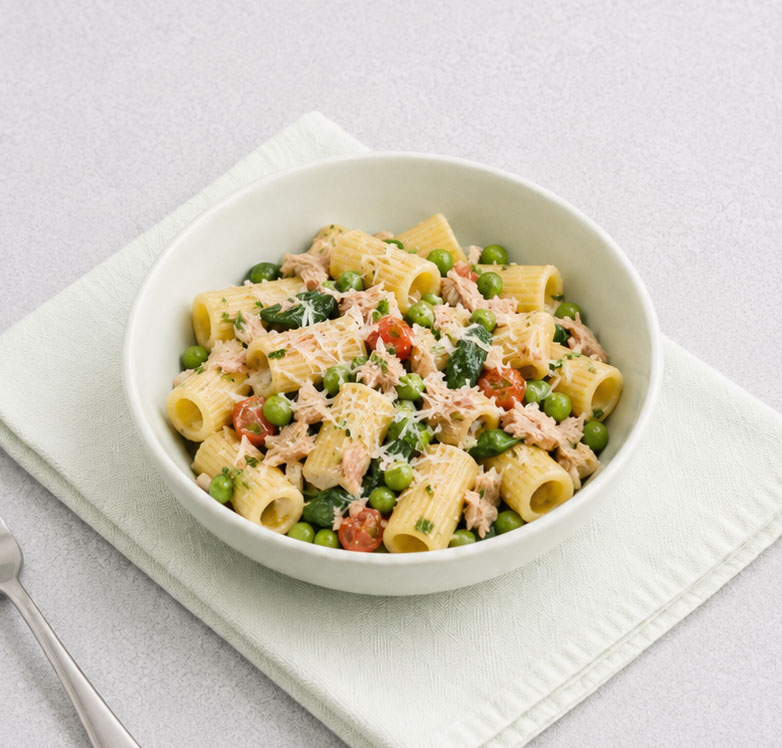
ADD TO PASTA OR RICE
Stir canned fish into warm pasta or rice. Add vegetables like peas, spinach, or tomatoes, and mix in some shredded cheese for a complete meal.
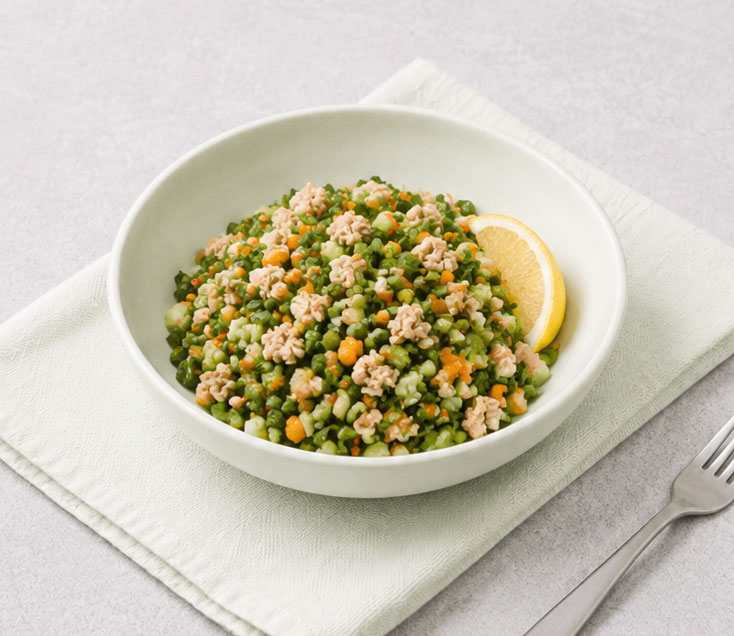
CREATE A QUICK SALAD
Mix canned fish with mixed greens and chopped veggies like cucumbers, carrots, or bell peppers. Add a splash of lemon juice or dressing, if desired.
MAKE FISH CAKES
Combine canned fish with breadcrumbs, egg, and seasonings (like salt, pepper, garlic or onion powder, or Italian seasoning). Shape into small patties and cook in a pan until golden. If offering to young children, keep flavors mild and skip anything too salty or spicy.
Canned Fish Recipes to Try
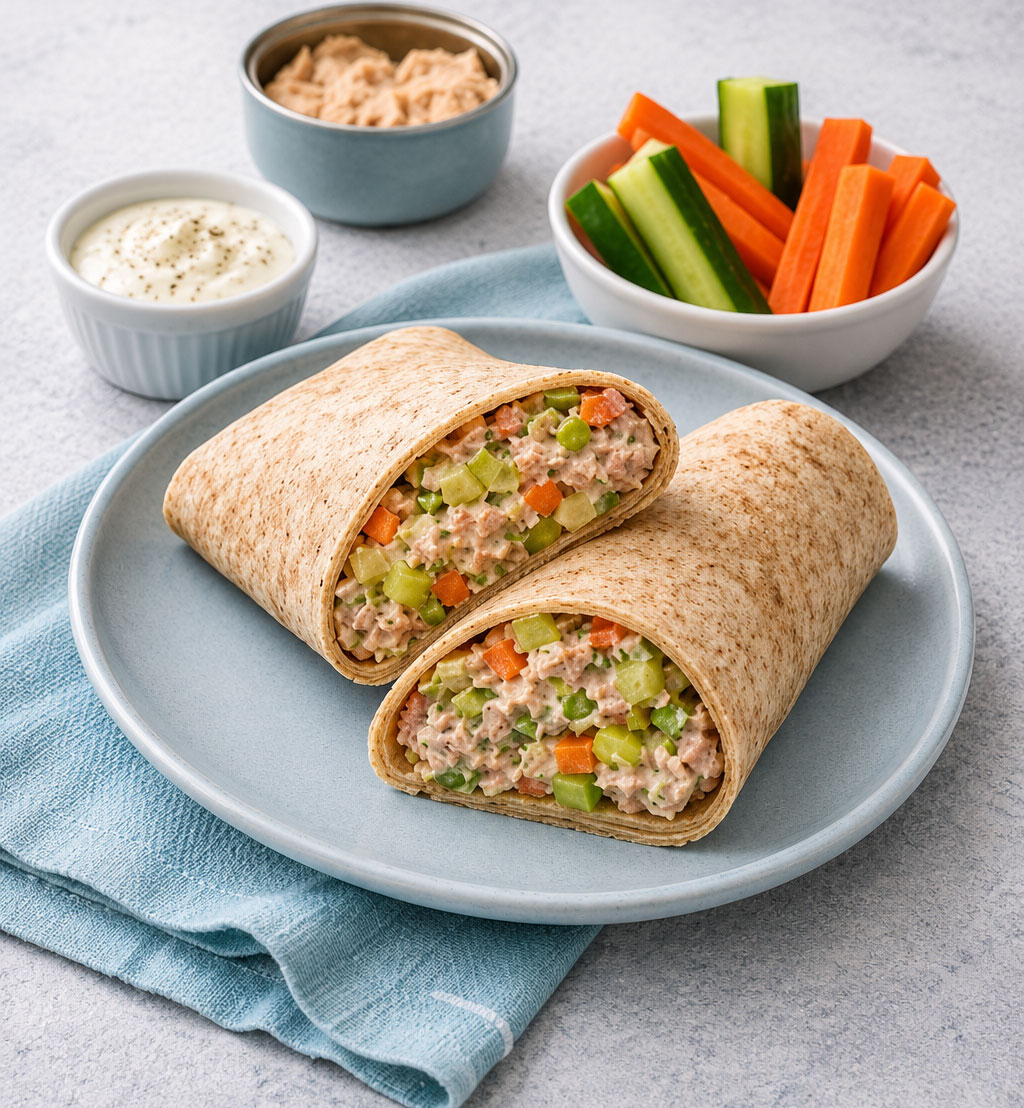
TUNA & VEGGIE WRAP
Ingredients
1 can tuna (drained)
2 tablespoons yogurt or mayo
¼ cup chopped veggies (like celery, cucumber, or carrots)
1 whole wheat tortilla
Directions
1. Mix tuna, yogurt or mayo, and veggies in a bowl
2. Spoon mixture onto the tortilla
3. Roll it up and enjoy
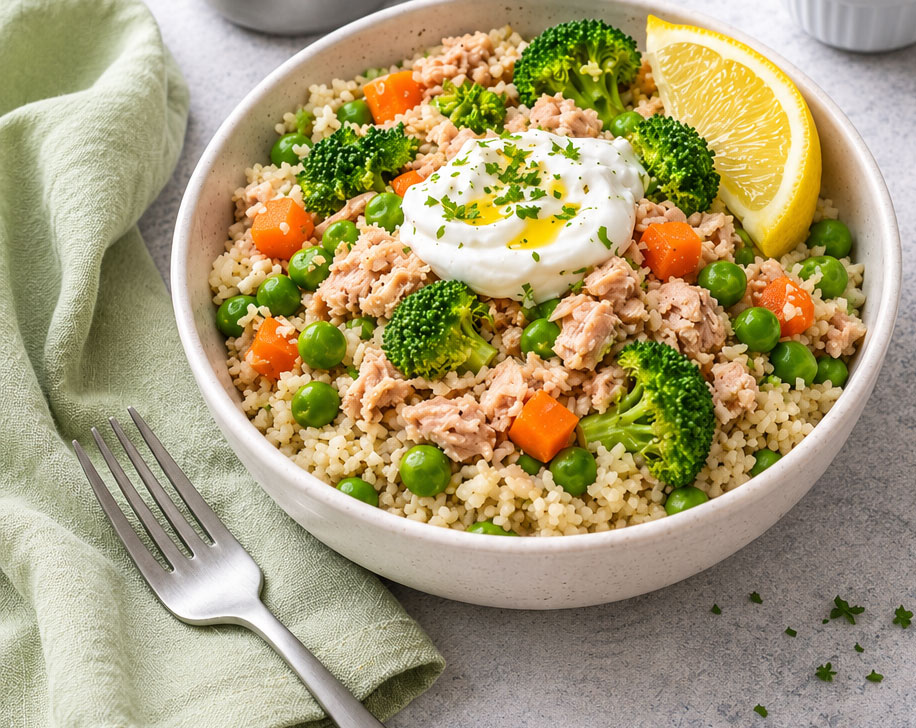
SALMON & RICE BOWL
Tip!
For younger babies, mash everything well or serve components separately for easier eating.
Ingredients
1 can salmon (drained, bones mashed if included)
1 cup cooked rice
½ cup cooked vegetables (like peas, carrots, and/or broccoli)
1–2 tablespoons plain yogurt or a drizzle of olive oil
Squeeze of lemon (optional)
Directions
1. Place warm rice in a bowl
2. Add salmon and gently mix
3. Stir in vegetables
4. Top with yogurt or olive oil and a squeeze of lemon
5. Mix and serve
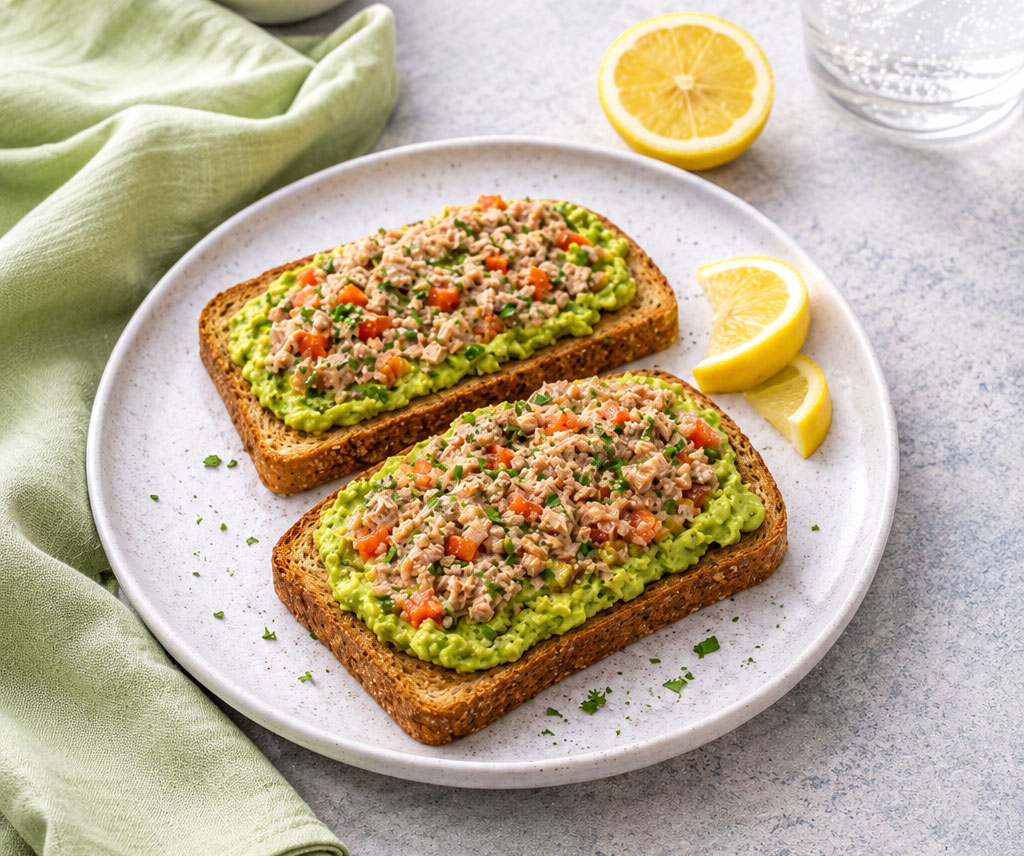
SARDINE TOAST WITH LEMON & AVOCADO
Ingredients
1 can sardines (drained, bones mashed if included)
1–2 slices whole grain bread (toasted)
½ avocado (mashed)
Squeeze of lemon juice
Pinch of salt and pepper
Optional: finely chopped tomato or cucumber
Directions
1. Toast the bread
2. Mash avocado and spread onto toast
3. In a small bowl, mash sardines with a squeeze of lemon
4. Spoon mashed sardines on top of the avocado
5. Add a pinch of salt and pepper, and any optional veggies
Tip!
For younger children, mash everything together and serve on soft toast or as a spread with crackers.
For the right breast, lie on your right side with your baby facing you.
Pull your baby close. Your baby’s mouth should be level with your nipple.
In this position, you can cradle your baby’s back with your left arm and support yourself with your right arm and/or pillows.
Keep loose clothing and bedding away from your baby.
Reverse for the left breast.
This hold is useful when:
You had a C-section
You want to rest while baby feeds
You are breastfeeding in the middle of the night
You and your baby are comfortable in this position
Cross-Cradle Hold
For the right breast, use your left arm to hold your baby’s head at your right breast and baby’s body toward your left side. A pillow across your lap can help support your left arm.
Gently place your left hand behind your baby’s ears and neck, with your thumb and index finger behind each ear and your palm between baby’s shoulder blades. Turn your baby’s body toward yours so your tummies are touching.
Hold your breast as if you are squeezing a sandwich. To protect your back, avoid leaning down to your baby. Instead, bring your baby to you.
As your baby’s mouth opens, push gently with your left palm on baby’s head to help them latch on. Make sure you keep your fingers out of the way.
Reverse for the left breast.
This hold is useful when:
Your baby is premature
Your baby has a weak suck
Your baby needs help to stay latched
Your baby needs extra head support
You and your baby are comfortable in this position
Clutch or “Football” Hold
For the right breast, hold your baby level, facing up, at your right side.
Put your baby’s head near your right nipple and support their back and legs under your right arm.
Hold the base of your baby’s head with your right palm. A pillow underneath your right arm can help support your baby’s weight.
To protect your back, avoid leaning down to your baby. Bring baby to you instead.
Reverse for the left breast.
This hold is useful when:
You had a C-section
You have large breasts
You have flat or inverted nipples
You have a strong milk let-down
You are breastfeeding twins
Your baby likes to feed in an upright position
Your baby has reflux
You and your baby are comfortable in this position
Cradle Hold
For the right breast, cradle your baby with your right arm. Your baby will be on their left side across your lap, facing you at nipple level.
Your baby’s head will rest on your right forearm with your baby’s back along your inner arm and palm.
Turn your baby’s tummy toward your tummy. Your left hand is free to support your breast, if needed. Pillows can help support your arm and elbow.
To protect your back, avoid leaning down to your baby. Instead, bring your baby to you.
Reverse for the left breast.
This hold is useful when:
Your baby needs help latching on
You and your baby are comfortable in this position
Laid-Back Hold
Lean back on a pillow with your baby’s tummy touching yours and their head at breast level. Some moms find that sitting up nearly straight works well. Others prefer to lean back and lie almost flat.
You can place your baby’s cheek near your breast, or you may want to use one hand to hold your breast near your baby. It’s up to you and what you think feels best.
Your baby will naturally find your nipple, latch, and begin to suckle.
This hold is useful when:
Your baby is placed on your chest right after birth
You have a strong milk let-down
You have large breasts
You and your baby are comfortable in this position

 Simple Meals with
Canned Fish
Simple Meals with
Canned Fish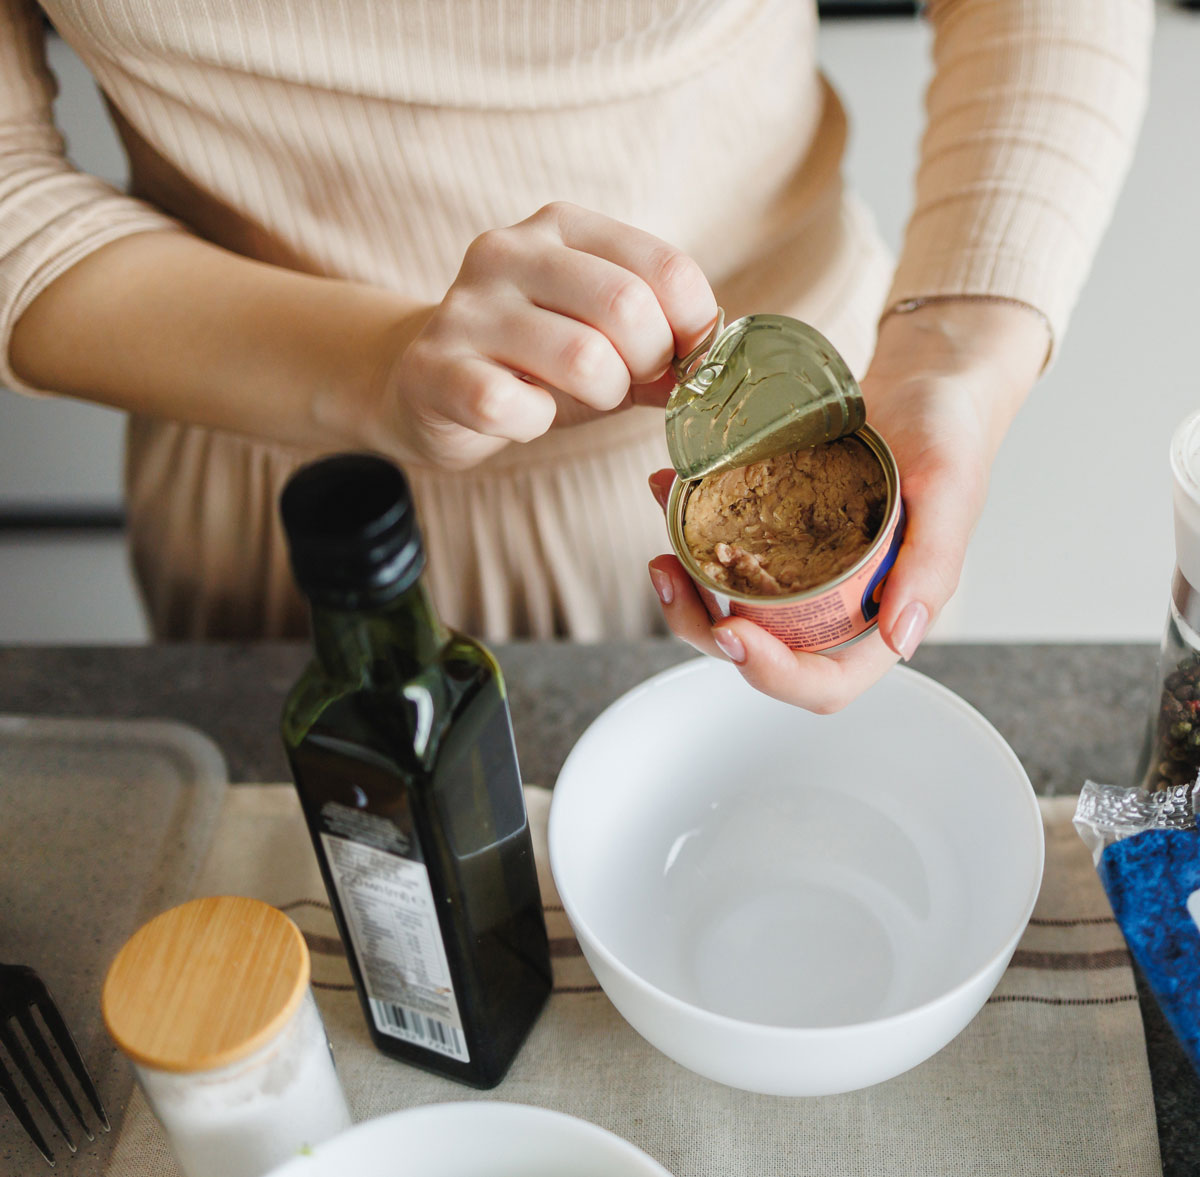
 Tips for Choosing
Canned Fish
Tips for Choosing
Canned Fish How to Safely Serve Canned Fish
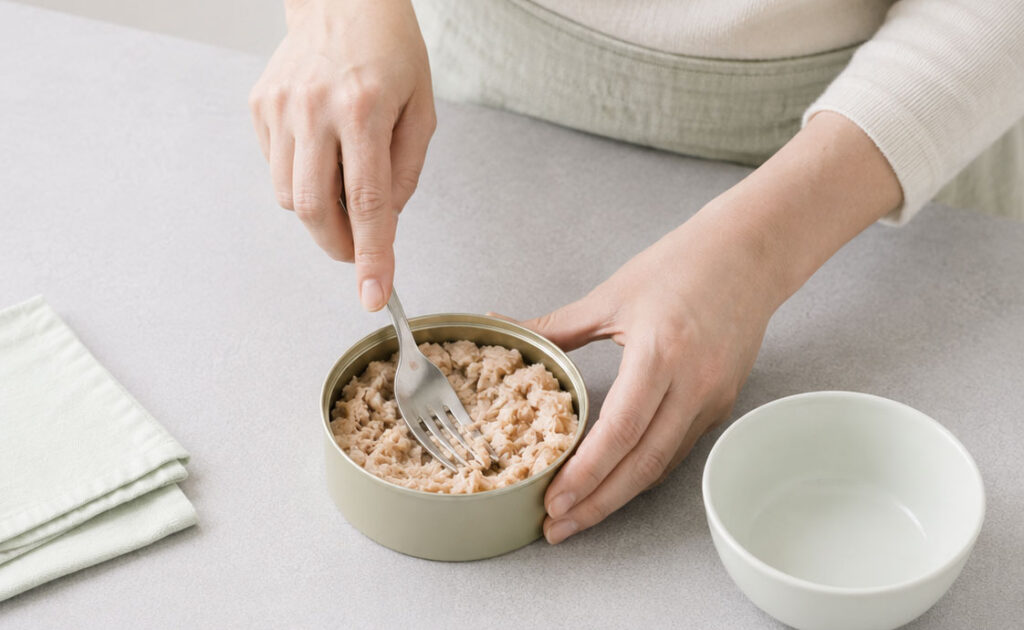


 Easy Ways to Use Canned Fish


Share
Share this link via: